
Recording and maintaining cancelled cheque details in TallyPrime is essential for accurate financial management. Whether cancelling an already issued cheque or maintaining records for voided cheques during issuance, TallyPrime offers a straightforward approach to handle these tasks.
In business operations, it’s common to cancel cheques due to errors, void transactions, or other reasons. TallyPrime allows you to record and maintain the details of cancelled cheques effectively. This guide explains two scenarios:
- Recording a cheque as cancelled after it has been issued.
- Maintaining the details of a cancelled cheque during issuance.
Maintaining cancelled cheque records in TallyPrime helps you:
- Track all cheque transactions, including cancellations.
- Avoid discrepancies during bank reconciliation.
- Maintain transparency and accuracy in financial records.
Best Practices for Managing Cancelled Cheques
- Use Clear Narrations: Always mention the reason for cancellation in the narration field.
- Regularly Update Cheque Register: Ensure all cheque statuses are updated promptly in the cheque register.
- Avoid Duplicate Cheques: Allocate a new cheque number for reissued payments.
- Backup Your Data: Regularly back up TallyPrime data to secure your financial records, including cheque details.
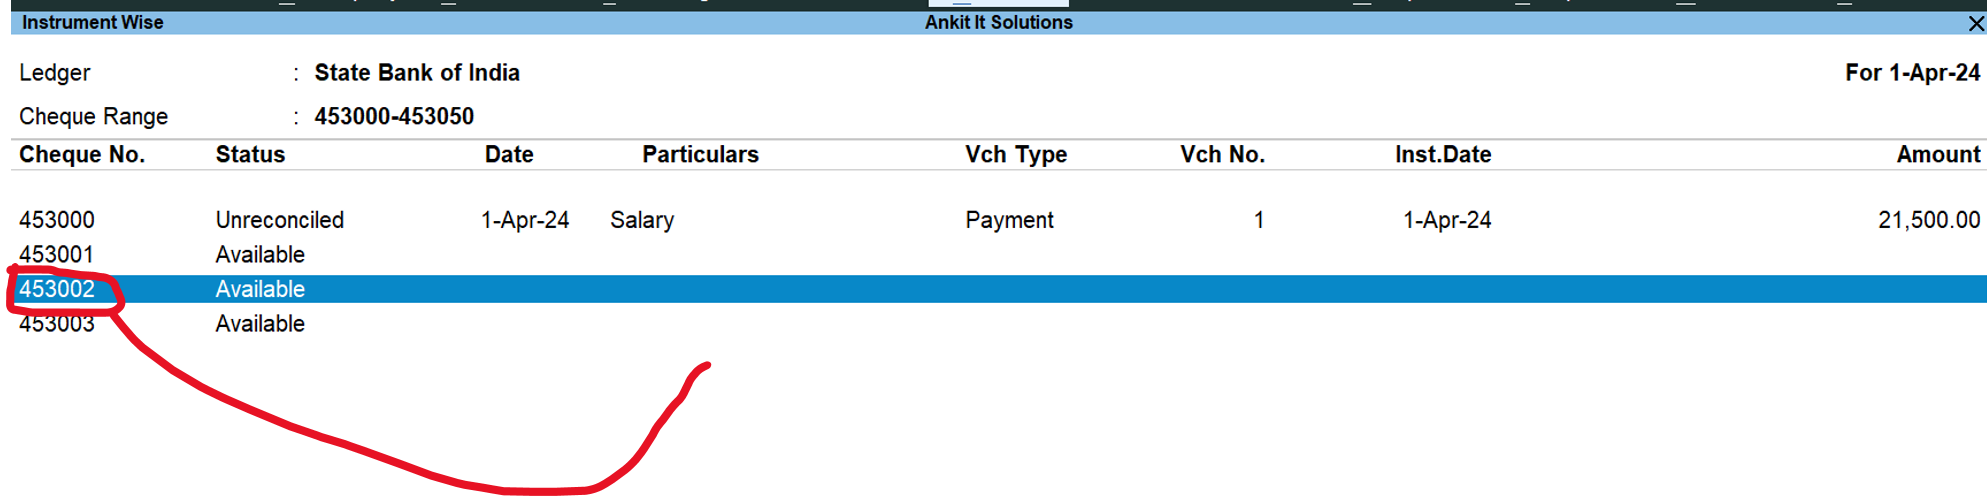
Bank Select for Cheque

Select Cheque for Select Cheque Number

Select Cheque which available

Press Spacebar for select a particular cheque and press alt + s

now select
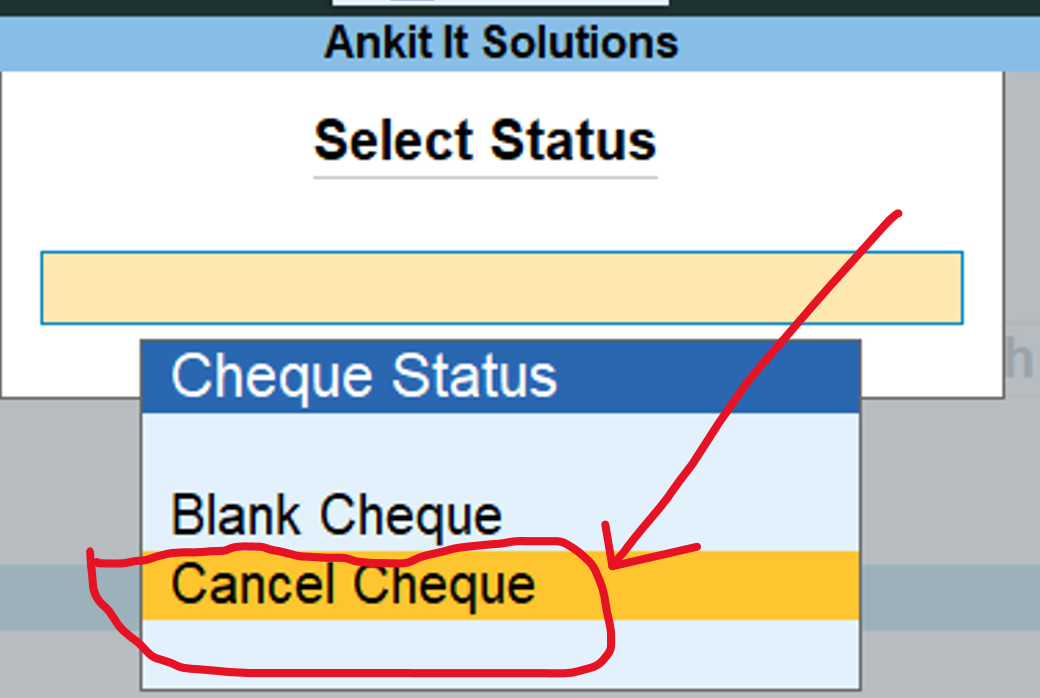
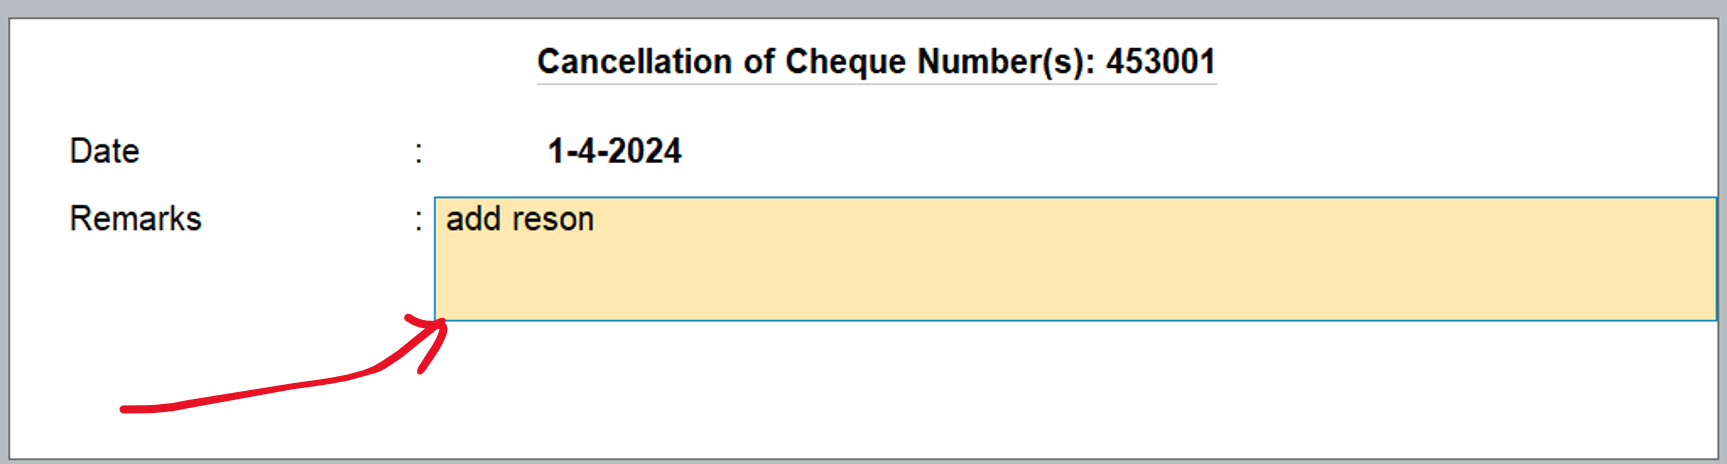
Add Reson why cheque cancel
see selected check is cancel

To cancel a cheque in Tally Prime, you can follow these steps:
- 1. Go to the ‘Payment Voucher’ or ‘Receipt Voucher’ option in the Accounting Voucher menu.
- 2. Select the voucher in which the cheque was issued.
- 3. Press the ‘Ctrl + X’ key or click on the ‘Cancel Voucher’ button.
- 4. Tally Prime will ask for confirmation to cancel the voucher. Press ‘Y’ or click on ‘Yes’ to confirm.
- 5. Tally Prime will cancel the voucher, and the corresponding cheque will also be cancelled.
Note: If the cheque has already been presented to the bank, you cannot cancel it in TallyPrime. In such a case, you should contact your bank and follow their process to cancel the cheque.